 Setup Kling
April 18, 2025 (July 20, 2026)
Table of contents
Approximately 2 minutes to complete setup steps.
This is the setup guide for Kling API. An active Kling AI subscription and a useapi.net subscription are required for the API to work.
Create Kling AI account
Navigate to https://kling.ai/app/ and sign up with an email account. Our API does not support Gmail or Apple accounts. We strongly recommend creating a separate Kling AI account designated for API work.
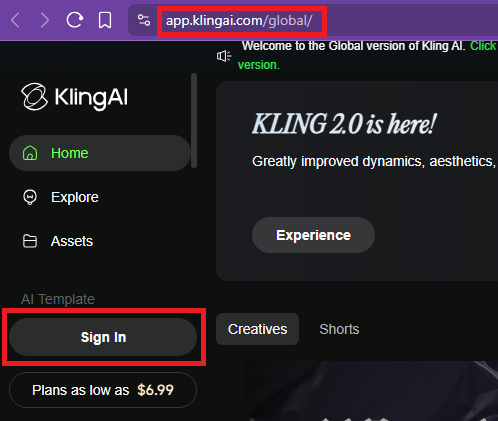
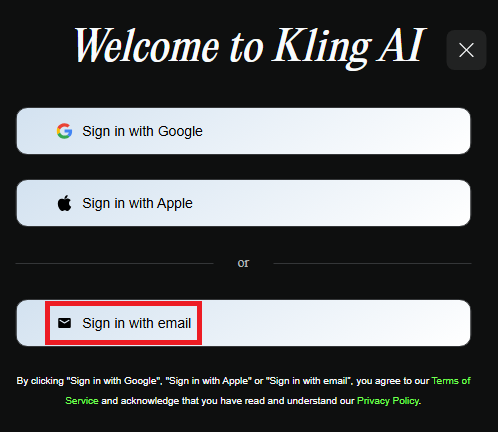
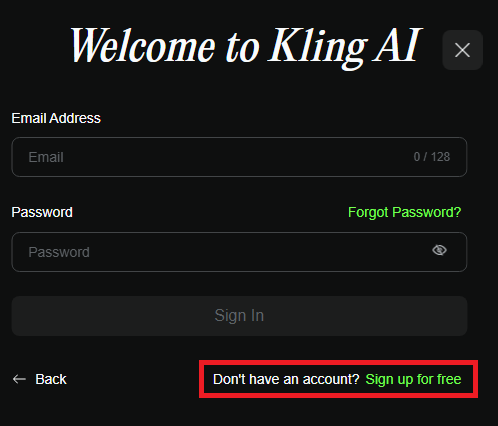
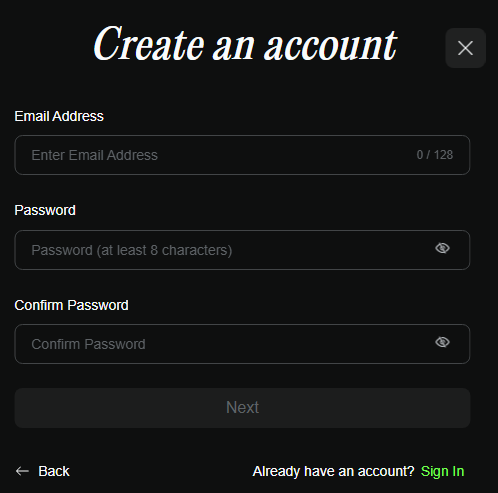
Add your account
Most Kling accounts connect with just an email and password. Enter them below and choose Add Account (or Verify to test the credentials first). A 200 response means success. You can also call POST /accounts directly.
Seeing a login slider captcha?
Some Kling accounts are asked to solve a security slider at login. Kling decides this from the account’s own risk history, so a brand-new or heavily-used account may get it while others never do. Our server cannot solve that slider, so for those accounts the Add Account step above returns:
{ "error": "Unable to login (400002)" }
If you never see the slider when you sign in to Kling yourself, you do not need any of this — email and password is all it takes.
When you do hit it, connect the account from your own browser instead, where the slider appears and you solve it once. Our connect tool guides you through it: you sign in to Kling a single time, it captures your signed-in session — a durable passToken plus your did and userId — and adds the account with those values. From then on the API refreshes the session with the passToken (valid about 21 days and rotated on each use), so no slider and no password login are needed while the passToken is valid.
The tool shows the exact steps — copy a short code, paste it into Kling’s browser Console, sign in and solve the slider, then paste your useapi.net API token and click Add account.
Prefer to grab the values by hand?
You can also read the three values yourself and pass them to POST /accounts. After you have signed in to Kling and solved the slider, open Developer Tools on kling.ai/app 1, switch to the Application tab 2, then under Cookies select https://kling.ai 3. Copy the value of these three cookies:
did— a device idpassToken— the durable session token (about 21 days, rotated on each use)userId— your numeric account id
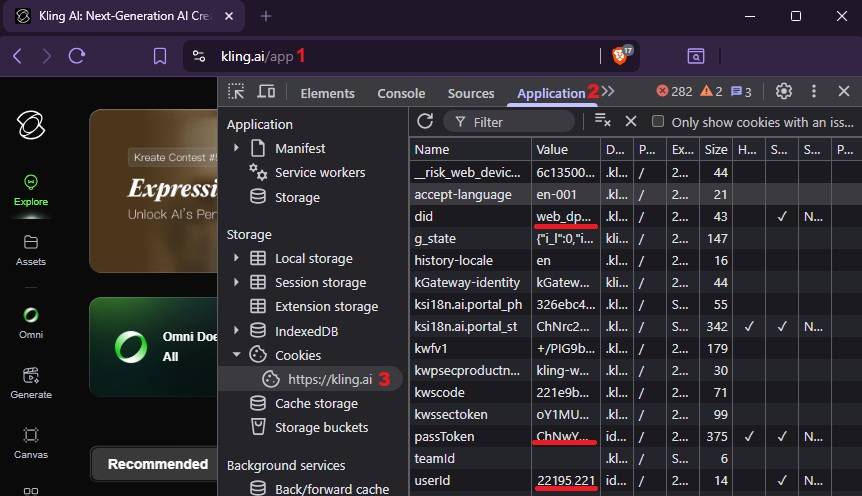
Send all three together on POST /accounts, alongside your email, password, and maxJobs. Provide them only for an account that hits the slider — leave them out and the normal email and password login is used.
Once an account is connected, you do not need the three values again. To update it later, for example to change maxJobs, post just email, password and maxJobs. The account keeps its passToken session, and the API cannot verify the password of a connected account, so it is stored as given — make sure it is correct. If the passToken stops working (for example after the account sits unused for about 21 days), the API falls back to a password login, which hits the slider. Connect the account again with the tool above to get a fresh passToken.
Paste the three values into the form below with your email and password, then choose Add Account (or Verify to test first). A 200 response means success.
passToken,did, anduserIdare your live Kling session — keep them private and treat them like a password. The connect tool holds them in your browser and only sends them to useapi.net when you click Add account.