 Setup Mureka
December 2, 2024 (August 14, 2026)
Table of contents
Approximately 5 minutes to complete setup steps.
This is the setup guide for Mureka API. A Mureka AI account and a useapi.net subscription are required for the API to work.
Mureka AI is a music generation service from Chinese tech giant Kunlun Tech featuring its proprietary Mureka music models (V9.5, V9, O2) and positioned to compete with Suno and Udio. It creates unique songs based on user-provided lyrics or description (AI-generated lyrics), selected musical styles, and references to specific vocals and songs.
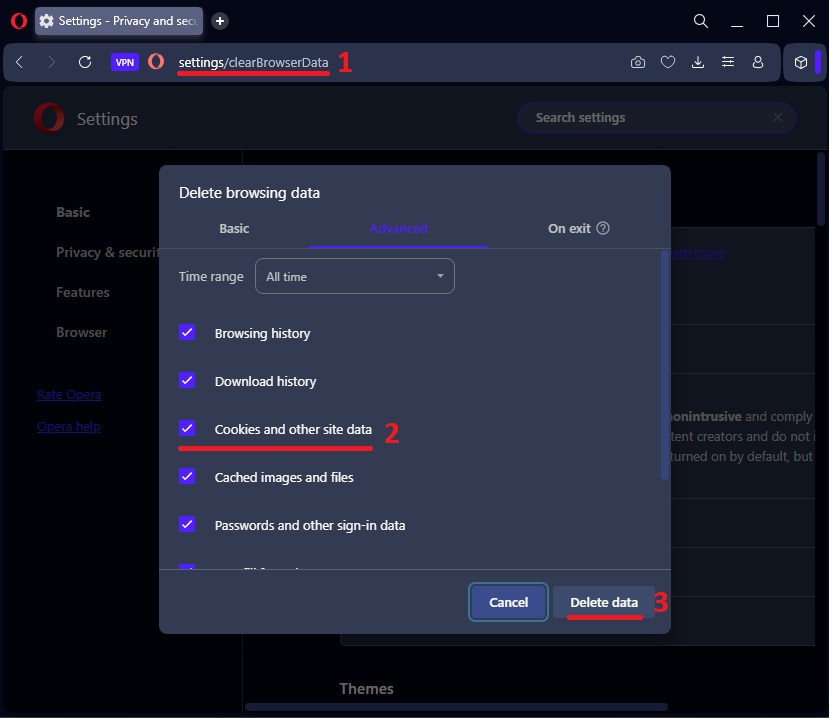
We strongly recommend using a separate Mureka account dedicated to API use, kept out of your everyday browsing.
Two ways to connect — and which to pick
There are two ways to link a Mureka account. They differ in one thing that matters a lot over time: what happens when Mureka ends the session.
| Email + password — recommended | Session token | |
|---|---|---|
| What you give the API | A dedicated Mureka account’s email + password | Mureka’s session tokens (token + refresh_token), copied from your browser |
| When the session is revoked | The API logs back in automatically with your password | You must re-connect the account by hand |
| Ongoing maintenance | None — reconnects automatically | Periodic re-linking (Google-based sessions get revoked every few days) |
| Best for | Everyone setting up a new API account | An existing account you can’t recreate with email + password |
Bottom line: if you’re setting up fresh, use Method 1 (email + password) — it’s the only option that keeps working on its own. Use Method 2 (session token) only when you must keep an existing Google / Facebook / Discord / Apple account.
Method 1 — Email + password (recommended)
The API stores your Mureka password, so whenever Mureka ends the session it simply signs back in — your account never goes dark and never needs re-linking. This is the durable, zero-maintenance path.
Mureka hides the email sign-up option by default, so use our guided page — it switches the email form on in your own browser, walks you through creating the account, and links it to useapi.net:
In short:
- Open the guided page and copy its one-line snippet.
- On www.mureka.ai, open the browser console and paste it — the Email / Password fields appear in the Sign in box.
- Register with an email you control + a password you choose (Mureka emails a verification link — click it and set that password).
- Back on the guided page, enter that email + password + your useapi.net API token → Add account.
Already have an email + password Mureka account? Link it here (or call POST /accounts with { "email", "password" }):
The API stores your password so it can re-login on your behalf. It’s sent only to useapi.net over HTTPS and is never returned (the response shows a masked value). The account will show
"authMode": "email".
Method 2 — Session token (alternative)
This captures Mureka’s own session tokens — the access_token and refresh_token it returns when you sign in. The API auto-refreshes them for you, but when the session is fully revoked or expires you’ll need to re-connect the account by hand (this is the case that Method 1 avoids). Sign in with Google — the provider we have tested end-to-end; Facebook, Discord, and Apple should work the same way since the values you copy are Mureka’s own tokens, not the provider’s.
Automated capture
Use our guided connect tool — copy a short snippet, sign in to Mureka, and your session is captured and your account added automatically, right in your own browser. No manual token copying.
Open automated session-token setup
Prefer to do it by hand? Continue with the manual steps below.
Open Mureka
- Navigate to https://www.mureka.ai
1. Sign out of this Mureka account everywhere first — in this browser and any other browser or device. You need a fresh sign-in for the tokens to appear, and if the same account stays signed in elsewhere, Mureka invalidates the captured refresh token. - Open your browser’s Developer Tools (press
F12, orControl+Shift+Ion Windows,Command+Option+Ion Mac) and keep it open.
Sign in to Mureka
- Click
Try free now2(shown in the image above). - In the
Sign in to Murekapopup, clickContinue with Googleand complete the sign-in.

Copy your token and refresh token
In Developer Tools:
- Click the
Networktab1and type/loginin the filter box2. - Click the
loginrequest in the list3. - Open the
Responsetab4. - Under
data→session_token, copy theaccess_tokenvalue5— this is yourtoken. - Copy the
refresh_tokenvalue6.

Both are long eyJ… strings (roughly 350–390 characters). Copy each value in full, without the surrounding quotes.
Add account
Paste your token (the access_token) and refresh_token below and click Add account. A 200 response means success. You can also call POST /accounts directly.
When you Add account, the API immediately performs one refresh — this confirms the tokens work and takes the session over from your browser, so the API holds its own token pair. It takes about ten seconds, which is expected.
Once added, the API auto-refreshes the session with the refresh token, with no browser involved. You can close the Mureka tab. The account will show "authMode": "token".
Keep this Mureka account dedicated to the API and signed out everywhere else. Signing into the same account in a browser again starts a second session, which invalidates the API’s refresh token and breaks auto-refresh. If you want to use Mureka in a browser, use a different account — or switch to Method 1, which is immune to this.